If you have a small space to grow some of your own food, you can use a few permaculture principles to maximize your food output while minimizing your effort. Let the plants support each other to free up your time with just a few design tricks.
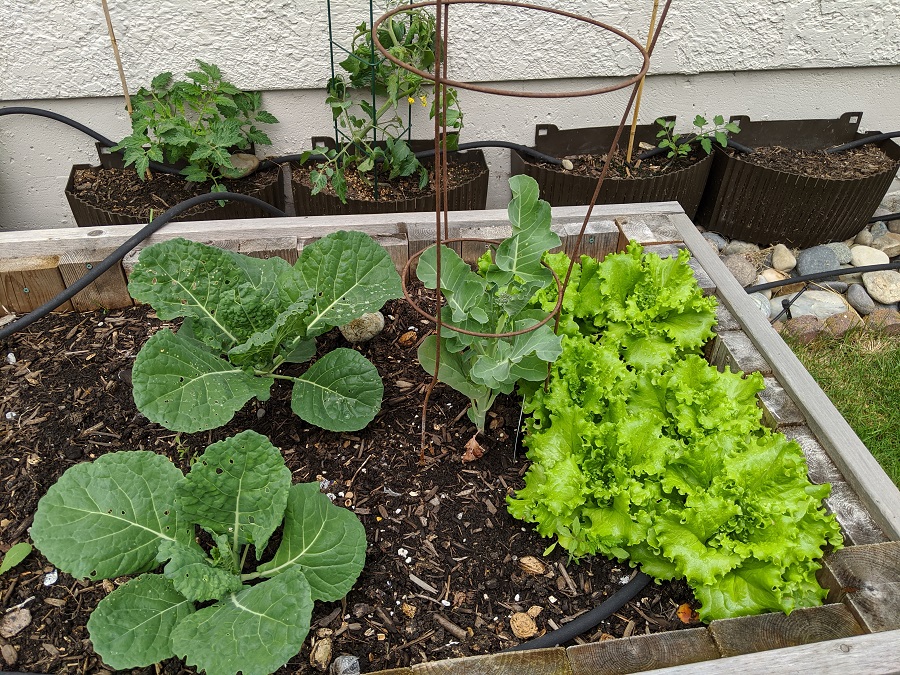
Permaculture in a backyard works in pots, raised beds, or in the earth. The design of the garden will use a layering technique to promote soil health, include diverse plants, possible water collection and produce no waste.
Permaculture is short for permanent agriculture. It is a design system that includes gardening, water, energy and waste in order to produce food and energy and regenerate the Earth.
Permaculture can be done on a large or small scale.
In this article, I explore some gardening techniques that will help to grow many different types of foods in a small backyard garden. These techniques can be used when designing and planting crops and they will reduce the water requirements and reduce the amount of time you will need to spend weeding. Store bough fertilizers will not be needed because these techniques will focus on soil health which in turn will produce healthy crops.
Typically when a backyard garden is started, rows are mapped out with different crops in each row. This makes it easy to see what is growing because there is empty space between the plants. When the harvest is picked, the rest of the plant is removed. Then the soil is turned and new crops are planted.

But this is not ideal for several reasons.
If you are only growing one type of plant in each row, that plant is more susceptible to insect infestation. Different insects are attracted to different plants, if there is only one type of plant, you might get a larger population of that insect without other insects around to control them.
As well, having only one type of plant often requires more water because other plants often shade each other, and when there is space around each plant, the water is lost to evaporation in the empty spaces or it can run off easier.
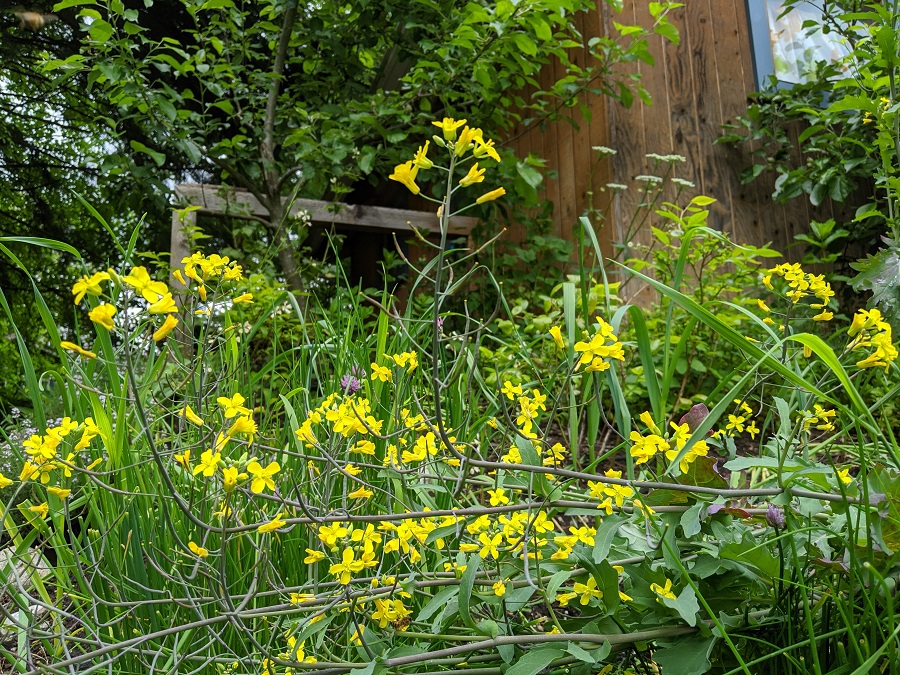
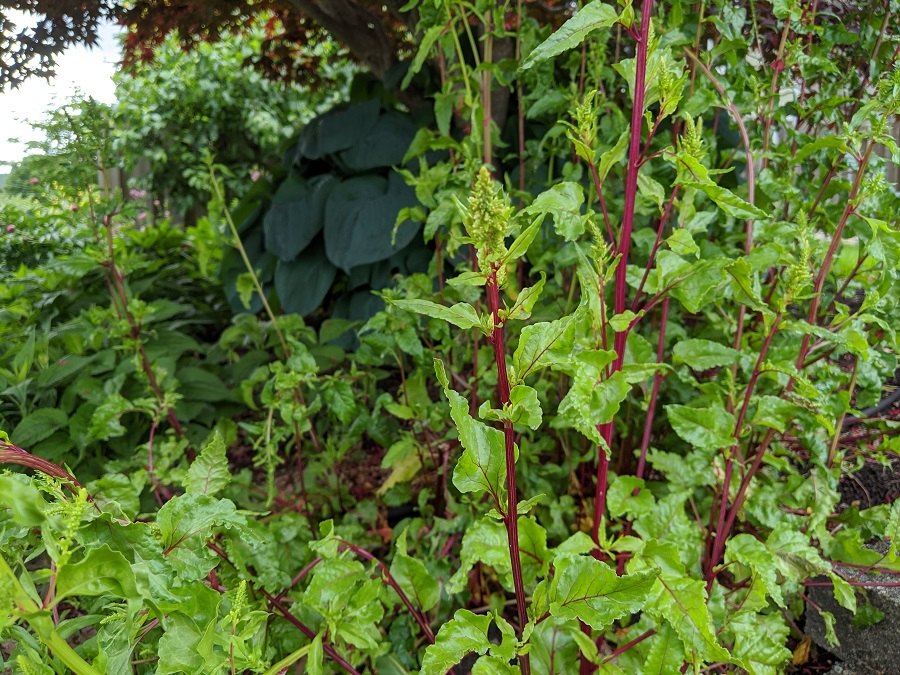
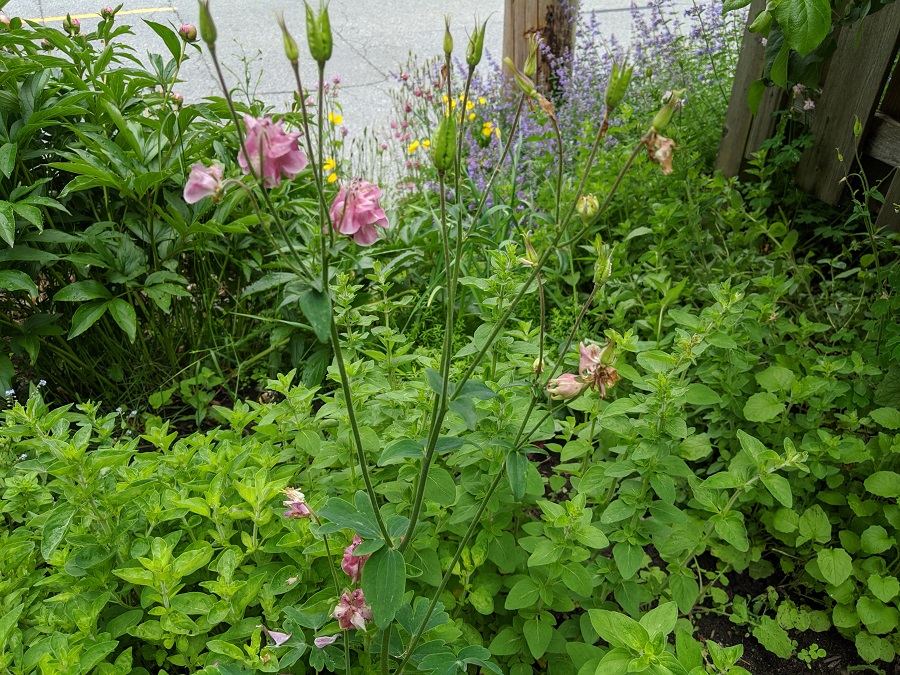
Growing a garden using the principles of permaculture will result in a garden in which you cannot see the earth between plants. Many different plants are growing together, supporting each other and the water required is reduced. This system could possibly water itself depending on where you live.
Principles of Permaculture
There are two great resources for learning more about the principles of permaculture. The founder of permaculture Bill Mollison created a comprehensive list of principles of permaculture in his book “Permaculture A Designers’ Manual“. This later got simplified into 12 steps by David Holmgren in “Permaculture Principles & Pathways Beyond Sustainability“.
To understand the tips I am suggesting for small space permaculture, it will help you have a brief overview of the principles of permaculture.
David Holmgren’s twelve principles of permaculture are:
- Observe & Interact (this is based on your specific region – observe the wind, rain, sun, landscape etc.)
- Catch & Store Energy
- Obtain a Yield (always choose the one with greater yield over ornamental – yield is not just food but can be fuel, fibre, medicine, material etc.)
- Apply Self-Regulation and Accept Feedback (keep our consumption and emissions in check, learn from successes and mistakes)
- Use & Value Renewable Resources & Services (could be where you plant things based on the wind or water resources you already have)
- Produce No Waste (make the waste of one system the food of another – compost, waste water)
- Design from Patterns to Details
- Integrate Rather than Segregate (the more connected your systems are the stronger and resilient the system will be)
- Use Small & Slow Solutions (when harvesting, harvest smart)
- Use & Value Diversity (Diversity is a key aspect of permaculture to make everything support each other)
- Use Edges & Value the Marginal (edible hedge rows)
- Creatively Use & Respond to Change
If you have an area of grass that you want to convert into a food forest, it is easy to do (and less work in the long run than caring for the grass). Let’s start with a no dig approach to starting a garden bed (or pots).
No Dig Garden
No dig gardening is a method of creating a garden bed with minimal disturbance to the soil. More and more research is being done about the importance of soil health and how digging can break down the soil’s structure that keeps vital organisms and microbes healthy for growing a garden.
Another benefit to the no dig method is the absence of weeds. After soil is dug, it tries to recover from the disturbance with weed grow growth. So a typical garden that is dug out of the earth or soil is turned each time something is planted needs to be weeded more often than a no dig garden.
A no dig garden involves layering of materials on top of what you already have. So if it is a bed of grass or a new raised garden box, you do not need to dig up the top layer that already exists.
On the bottom you will have the existing earth. On top of that, you can lay down any weeds you cut down, compost, coffee grounds or tea leaves. If you know how to make comfrey tea or have a worm compost, you can add this here. The next layer is newspaper that will act as a weed barrier. The top layer will be mulch. And then you are ready to plant.
Many resources online will tell you to put the newspaper or cardboard layer under the compost but I suggest the opposite. There are a few benefits to this uncommon method.
- The newspaper will prevent weeds growing up from the compost layer. (if the compost is on top it is easier for the weeds to grow into the garden)
- The newspaper will act as an insulation layer helping to keep the moisture and coolness in the soil layer.
- The newspaper will not be a barrier between the soil organisms (in your original ground layer) and the new materials (compost) you are putting down, thereby feeding these soil organisms.
These are the steps for a no dig garden. This can be done when starting a raised bed or just adding a garden to the ground.
Open the Soil
Leave any weeds in place – they are going to be covered up and they will decompose and add nutrients to the soil layer. If you are starting with grass or dirt, use a pitch fork to loosen the area that you are going to plant in, not the walk way. If you are starting a garden on grass, just lift the grass with a pitch fork, don’t remove weeds or turn the grass. If you turn the grass around, it will break up the structure of the soil, so instead you just want to lift it so add air and space. Best time to do this would be after a rain so the soil / earth is nice and wet.
Feed the Soil
You are going to add your compost layer. You can add coffee grounds and tea leaves from the kitchen, comfrey tea if you have it, material from the worm farm if you have one, compost (it doesn’t have to be fully composted yet), dried leaves. Comfrey leaves can be added on as well (more about comfrey below but this is the most recommended plant to include). Water well after adding these things. This layer should be about 10 cm. It needs to be moist so the layers can merge together into new rich top soil.
Create a Weed Barrier
Newspaper can be used if the ink is safe (most newsprint uses safe ink). Soak the newspaper about 10 sheets thick. Your garden should have a slight slope and you will start placing the newspapers at the top of the garden placing the newspapers down on top of each other going down the hill so you get a reverse tiling effect overlapping the newspapers(about 10cm overlap). If you started at the bottom and placed the newspapers on top, the water would just roll down the slope but if the newspapers are tiled from the top to the bottom, the water will get trapped under each new section. Water the newspaper to make sure it is moist and to check for any holes.
Add a Thick Layer of Mulch
Add a thick layer of seed free hay, sugar cane mulch or bark mulch. Break it up into light fluffy mulch covering the newspaper so that you cannot see it. This layer should be 15 – 20 cm thick. Water the mulch with a jet stream to help the mulch bind together to prevent it from blowing away in the wind.
Choosing the type of mulch will depend on where you are located and which types of vegetables grow. In a hot climate, a soil cooling mulch is better like hay or straw. In a colder climate, you can use a bark mulch if they are compatible with the plants you want to grow.
Plant in The New No Dig Garden
Make a hole like a birds nest in the mulch later to expose a little piece of the newspaper. Make a small hole in the newspaper to make a spot to plant something. Plant underneath the newspaper and add a little bit of compost to bring the soil up above the newspaper around the plant. Don’t let the mulch layer touch the stem of the plant
If you want to plant something from tiny seeds like a carrot, you can cut a line in the newspaper to expose a small line that you can add the seeds to. Carrots grow very well in this type of garden.
Building a Plant Guild

A plant guild is a grouping of plants that support each other in many different functions. Building a plant guild is an integral part of permaculture design because it removes the need for adding nutrients and decreases the pest issues.
A guild includes plants of different sizes in close proximity to each other. You would start with a tree (possibly a fruit or nut tree) as a center piece. Then you would include understory trees, nitrogen fixers, dynamic accumulators, bug repelling plants and ground cover.
A nitrogen fixer is a plant that removes nitrogen from the air and adds it to the soil when it dies. Common nitrogen fixers are clover, mustard, alfalfa and peas. These usually make a good ground cover and they are easy to chop and drop (cut them and leave them in place to feed the soil).
Dynamic accumulators are usually deep rooted plants that draw up nutrients from the lower layer of soil and store it in the leaves. When the leaves fall off in autumn they will go back into the soil adding the nutrients to the upper layer. Chickweed, dandelion, and comfrey are popular dynamic accumulators.
A companion chart is a great place to start to find plants that work well together. Usually you would start with the type of fruit or nut tree that grows well in your area. You might only have space for one tree or perhaps you have enough space for several. Each tree will be part of a guild of plants that surround the tree.
Building a strong guild might take some trial and error to find plants that support each other. They might compete for a resource like water but at the same time work together in attracting pollinators or resisting wind.
If you do a search for food forest in your area, you can get an idea of the guilds other people have had success with to know where to start.
An example guild that works well together is an apple tree with comfrey, mustard, raspberries and oregano. The comfrey pulls the nutrients from the lower soil, mustard is a nitrogen fixer, oregano repels insects and raspberries are a pollinator plant.
You don’t always need to have a tree, if your raised bed is not big enough you can still work with a guild without a tree. For example, tomatoes and peas work well with corn as it helps support them. The peas work well with tomatoes providing them with nitrogen as tomatoes are heavy nitrogen consumers. The husks from the corn can also be used as a mulch.
Water System For a Small Garden
Although you may only have a small garden, it is still good to consider water saving options to reduce the amount of time and water you will need to keep your garden happy. Permaculture design includes the capture and reuse of resources, including water and there are a few techniques that might work well in a small space.
Backyard Garden Swales
Don’t discount the importance of capturing and reusing water in your small garden. If you are creating a backyard garden with multiple beds, you might want to build swales between garden beds and use stored rainwater. The concept works well with no dig gardens but should be considered at the design stage before you create any garden beds.
A swale is a sunken or shady patch of land used to direct water. It is used to slow down the flow of water from higher ground. In a small garden, it can be used as a pathway between garden beds that can hold moist mulch.
The contours of your land will help to determine how to build a swale to support your garden beds. The garden beds can be on an area with a downward slope and the swales can be used as pathways or as ponds on the edges of the gardens depending on the size of the hills on the site.
Swales are not ideal for all gardens. If your garden is in a very rainy location there is not a need to collect water in a swale. They do not work as well on a steep slope.
Using a swale for water management is a passive irrigation technique. Once the swales are built, there is really not much effort involved.
Collect Rainwater with a Barrel
A rain barrel can collect rain water from the roof of your house to be used to irrigate your garden. This is beneficial in many ways but it also has it’s draw backs. Once the rain barrel is set up, there is still some work involved in using the water on the garden.
A rain barrel diverts the water that comes down the spouts on a house. In most cases a gutter downspout diverter is used to create a Y path for the water to flow. The water can flow into the normal drain and it can also flow into a barrel for storage.
Using the water collected in a barrel not only reduces the amount of water that would be required from the house tap (processed high quality water) but it also reduces problems with municipal runoff and erosion. It is also great for reducing the possibility of overloading the municipal water drains.
Most rain barrels have a spigot at the bottom that can be turned on to allow the water to drain from the barrel into a watering can. Some also have a spigot that a hose can be screwed onto to drain the water. This type of system is active, an requires a person to do the work.
For gardens that are farther away from your house, you can get a rain barrel that will simply collect the rain that falls on it and does not need to fill up from a gutter downspout. This rain barrel is very cool because it collects the rain, can be attached to a hose, has a faucet to fill a watering can and it looks very nice. You can even grow plants in the top of it!
Rain Barrel and Swale Combination
An excellent option for a larger backyard garden includes a rain barrel collecting water that drains into a swale type system. A path is dug between the garden beds that is large enough to fit a weeping tile landscaping drain pipe. The path is then filled in with the drain pipe and mulch packed around it enough that you can walk on it.
This walking paths will make the garden beds accessible while irrigating them from the bottom up as the water seeps through the drain tile pipe into the surrounding soils. This also makes an excellent habitat for worms to flourish. The worms then transport the carbon between the garden beds.
The mulch eventually decomposes and will need to be topped up every couple of years.
Verge Permaculture has described this technique very well on their site, check it out for more details.
In the image below, you can see the irrigation sways beside each raised bed. This can be filled with a weeping tile drain pipe and covered with mulch to create the walking paths. The water will then irrigate the raised beds from below.
Chop and Drop Technique
In permaculture design, the waste from one system feeds into another system. When you are pruning plants or harvesting, the organic matter that you are not going to use can simply be dropped on top of the garden to decompose.

Some plants are better for this chop and drop method like comfrey and clover barley. It creates a lot of biomass and needs to be pruned.
This technique is easier than creating compost because you don’t have to wait for the decomposition to happen. Like adding compost to a garden, using the chop and drop technique will create an environment that is attractive for fungi thus creating a healthy biodiverse eco system.
A Note about Comfrey
Comfrey is a very common plant to grow in a permaculture designed garden but it is a bit controversial. Comfrey is a quick growing dynamic accumulator (it pulls the nutrients from the lower layer of soil) that is commonly used as a chop and drop technique.
But some types of comfrey when ingested have been known to cause liver damage. The sale of this super plant has been banned in many countries like Canada, so you won’t find it at any nurseries there. The Comfrey Common does not usually have the pyrrolizidines that cause liver damage so this strain of plant is safe.
Comfrey is used in many medicinal purposes and often these are topical. It is commonly used to treat sprains, bruises, burns and joint pain.
If you read any permaculture article, you will come across a recommendation to grow comfry in your plant guild. Comfrey is so versatile, you can add the leaves to a new garden bed, make a comfrey tea, plant it around fruit trees to improve the soil around them. Comfrey has a deep tap root, and it pulls up the sub soil nutreients.
You can use comfrey to speed up the succession of the soil from a lawn ecology to a beautiful fungal forest ecology.
Rob Greenfield – An Example of Growing 100% of your own Food
It is possible to grow and forage all of the food you need to eat as Rob Greenfield proved in 2019 through his amazing experiment. Rob lived in an urban area and managed to live on only the food he grew and foraged from local green spaces. Although Rob lived in Florida for most of that year, he states that it doesn’t have to be a hot sunny climate to be able to grow your own food. People living in colder climates just need to learn how to store their harvests over the winter months.
Summary of Simple Ideas For Backyard Permaculture
You can increase your output of food in your backyard garden by implementing a few permaculture design principles. Take into consideration the following proven successful techniques:
- consider the contours of the yard to select a spot for a garden bed
- use the techniques for a no dig garden so that you do not disrupt the existing soil’s structure
- layer your garden beds with compost then newspaper, then mulch
- plant multiple types of plants densely together to form a plant guild (should contain plants that are compatible and support each other)
- if applicable, use a series of swales around your garden beds to slow down the flow of water and irrigate the gardens
- collect the water from your house’s roof in a rain barrel to be used for the gardens
- as well as composting, you can use a chop and drop technique to feed your gardens with the pruning waste from the garden
- comfrey is a great plant to use in a garden (although it can be a health hazard if ingested) because it does a great job of bringing nutrients up from the sub soil and it is a fast grower
- try to create an attractive environment for pollinators, worms, fungi and habitat for all types of creatures
When you create a healthy biodiverse eco system in your backyard, you won’t need pesticides or chemical fertilizers and your food yeilds will be strong with less work.
Recent Content
Green Parenting - Tips To Raising Environmentally Friendly Kids
It is more important now than ever to raise an environmentally conscious next generation. Children are the future so let's be sure to raise them with a respect of nature! To raise...
Thinking about buying a new (or used) car is a big decision for most people. It is one of the biggest purchases people make in terms of expense and ownership time. The options can be daunting...
